


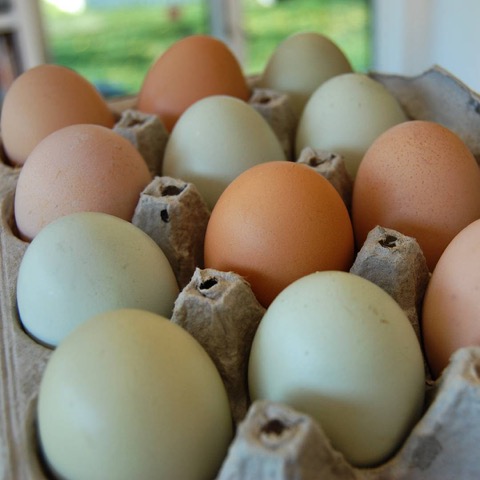

I decided this was the year I wanted to try hatching our own chickens. After all, we wake up to a crowing rooster most mornings. Might as well get a few new chickens out of the deal. When I asked a breeder about hatching our own chicks she had one piece of advice: don’t use a styrofoam box. Rather, she recommended a certain brand of incubators and even gave me a coupon code to try online.
Then I found out the name-brand incubators were going to set me back nearly $200! I’m not an astute investor, but back-of-the-napkin calculations told me this wasn’t a good investment. I could buy 100 chicks for less than that. So I dismissed the idea altogether and went on to the next harebrained farm project.
But in the back of my mind, I still really wanted to hatch chickens. Then one day it hit me (probably while lying awake at 5am, listening to our rooster): Why not just try a styrofoam box? I mean, how bad could it be when the alternative is sitting under a chicken’s butt for three weeks?
DIY incubator plans online were all levels of complexity and I couldn’t find anything really simple. So I set about gathering the supplies to make the CHEAPEST and SIMPLEST egg incubator possible. I think I succeeded.
Caveat, I already had some supplies on hand such as lightbulbs, thermometer and scrap wood. But other than that, my total out of pocket was $3. This included the styrofoam bait box ($2) and a lightbulb socket ($1). I also set a goal of making it in under 30 minutes, which if you don’t count the time taking photos for this blog post, I easily pulled off.
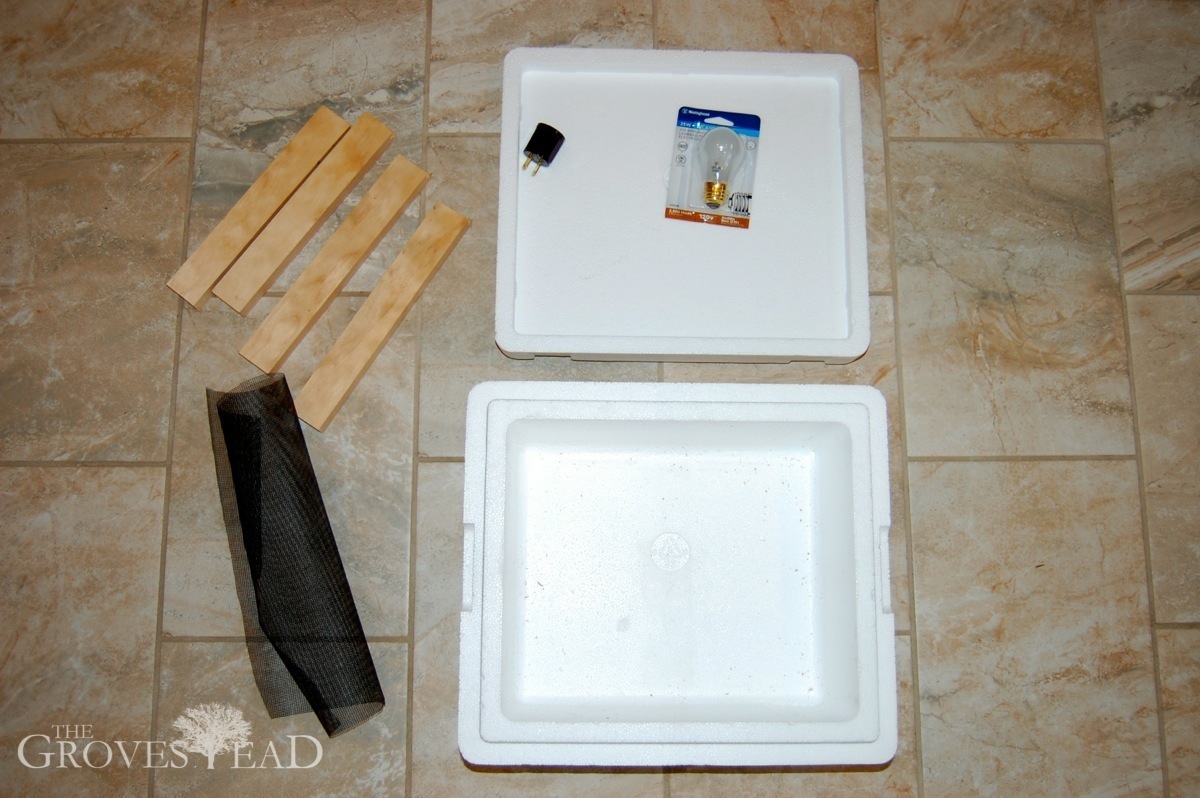
Supplies you will need:
- Styrofoam box
- Light bulb socket that plugs into standard extension cord
- Incandescent light bulb (wattage depends on size of box)
- Scrap wood to make a frame
- Screen, hardware cloth, or fabric to wrap over the frame
- Thermometer with humidity gauge (hygrometer)
- Shallow cup for holding water (the sour cream container in your recycling bin works great)
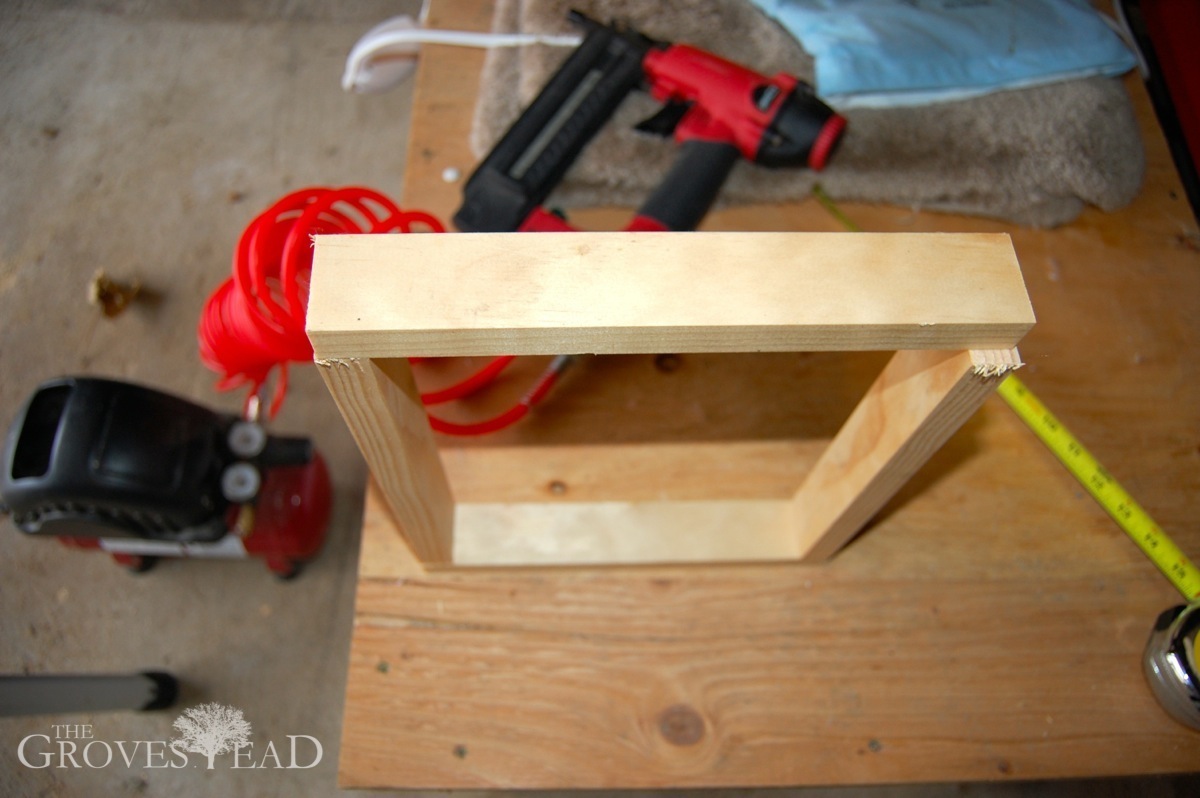
Step 1: Build a frame to fit the inner dimensions of your styrofoam box. Mine was 12″ x 10″.
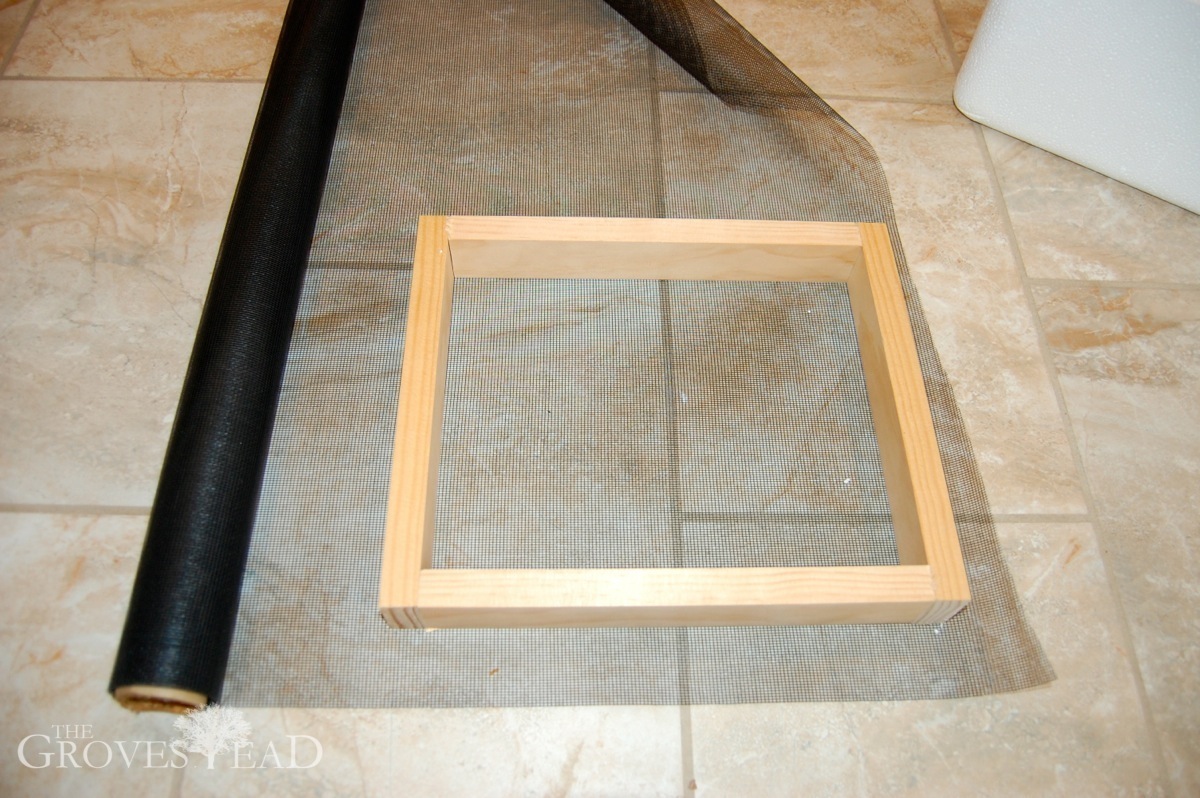
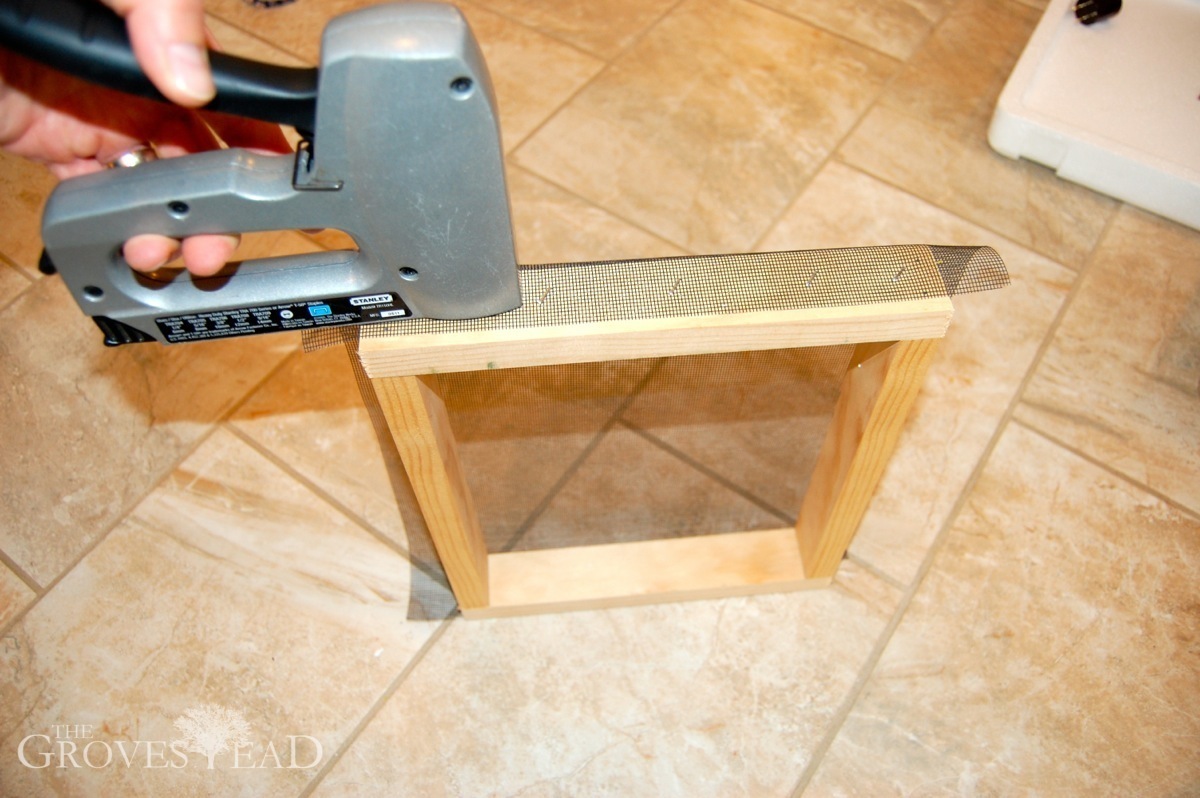
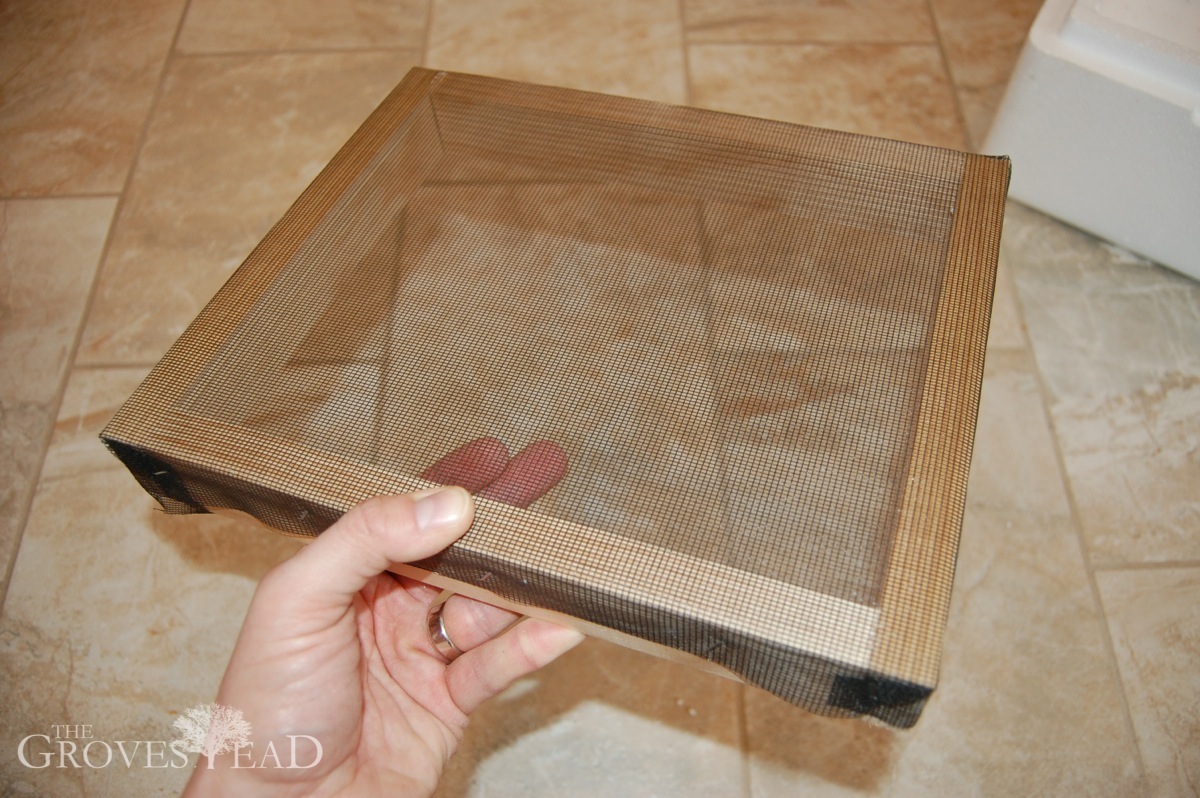
Step 2: Fit screen/hardware cloth/cloth over the frame and staple in place.
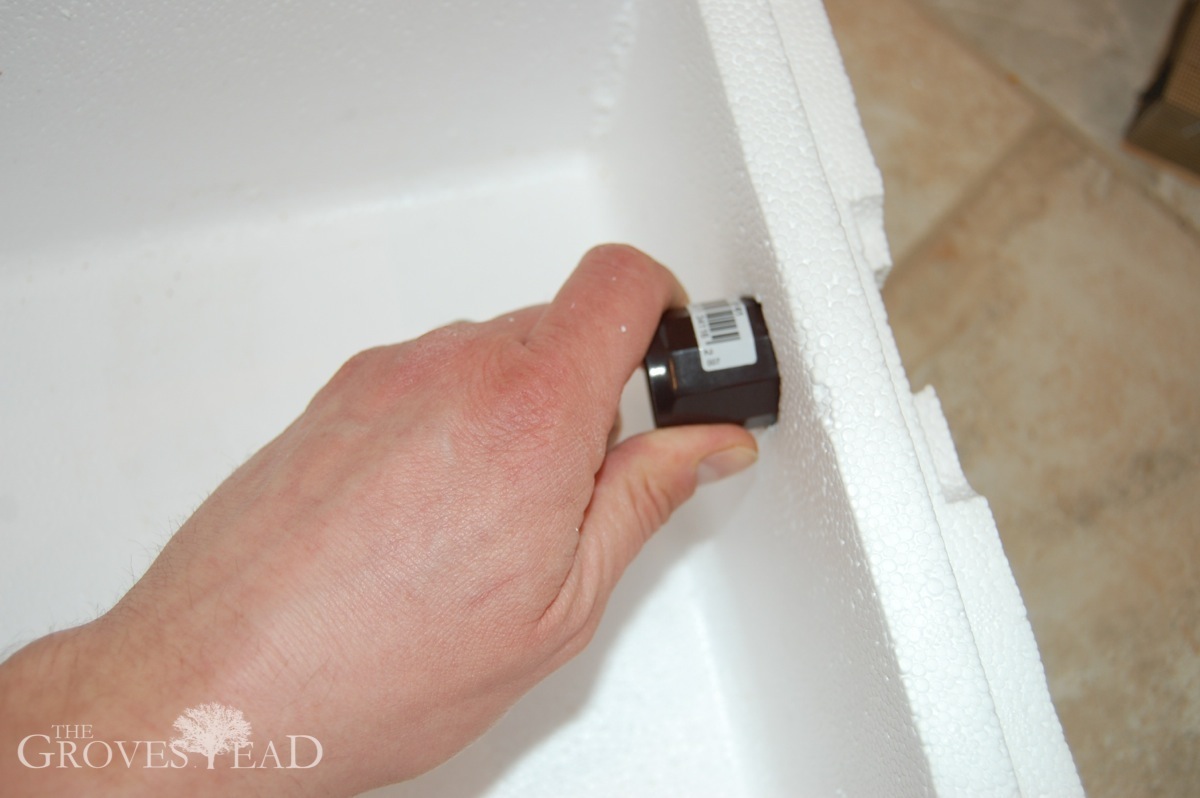
Step 3: Cut or drill a hole into the side of the box and install the lightbulb socket.
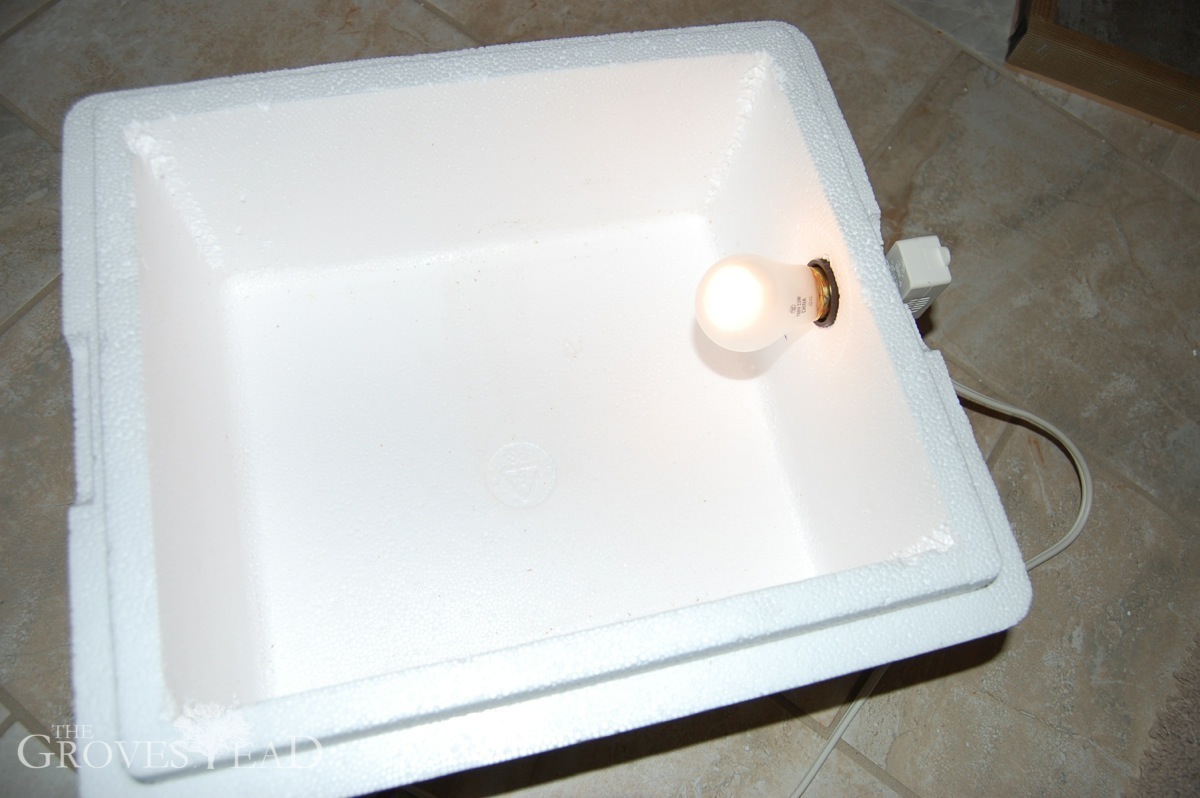
Your lightbulb wattage depends on the size of the box. Generally, 10-40 watts should be sufficient. Appliance lightbulbs are perfect because of their compact size.
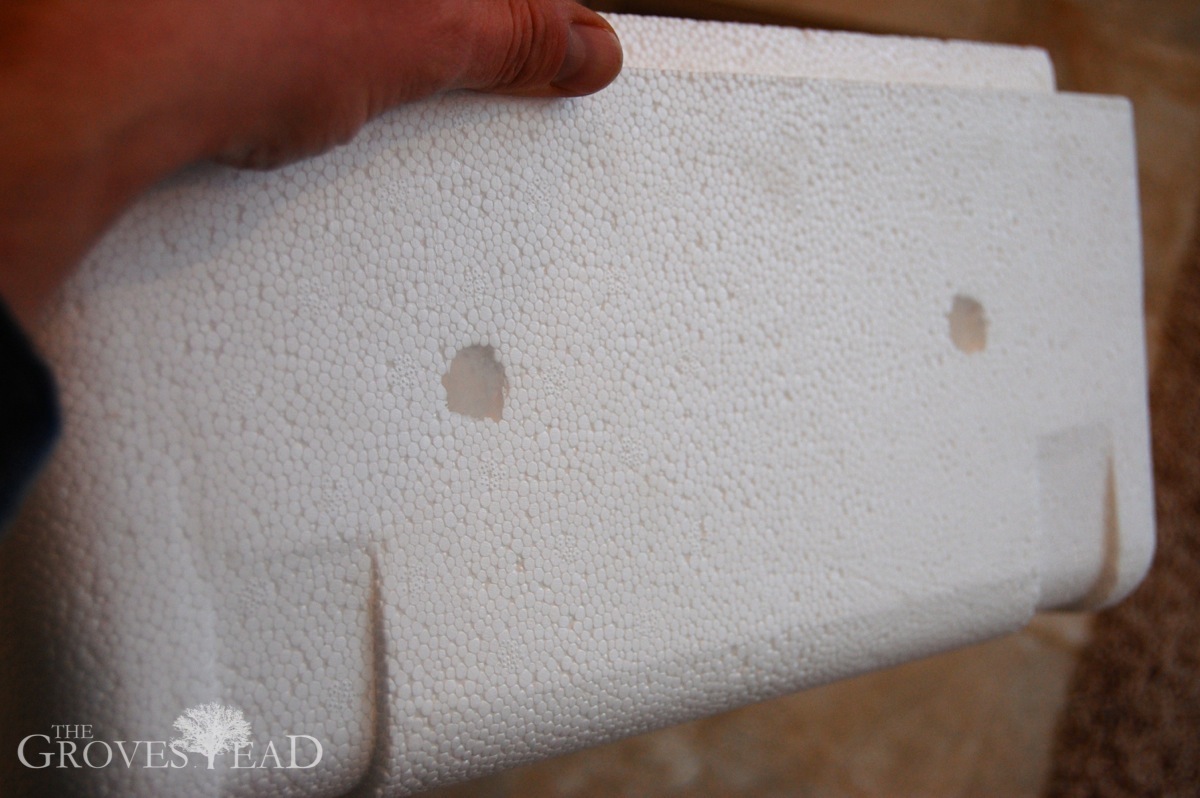
Step 4: Drill some holes into the side and lid for venting. I put 2 holes on each side and 4 holes in the lid.
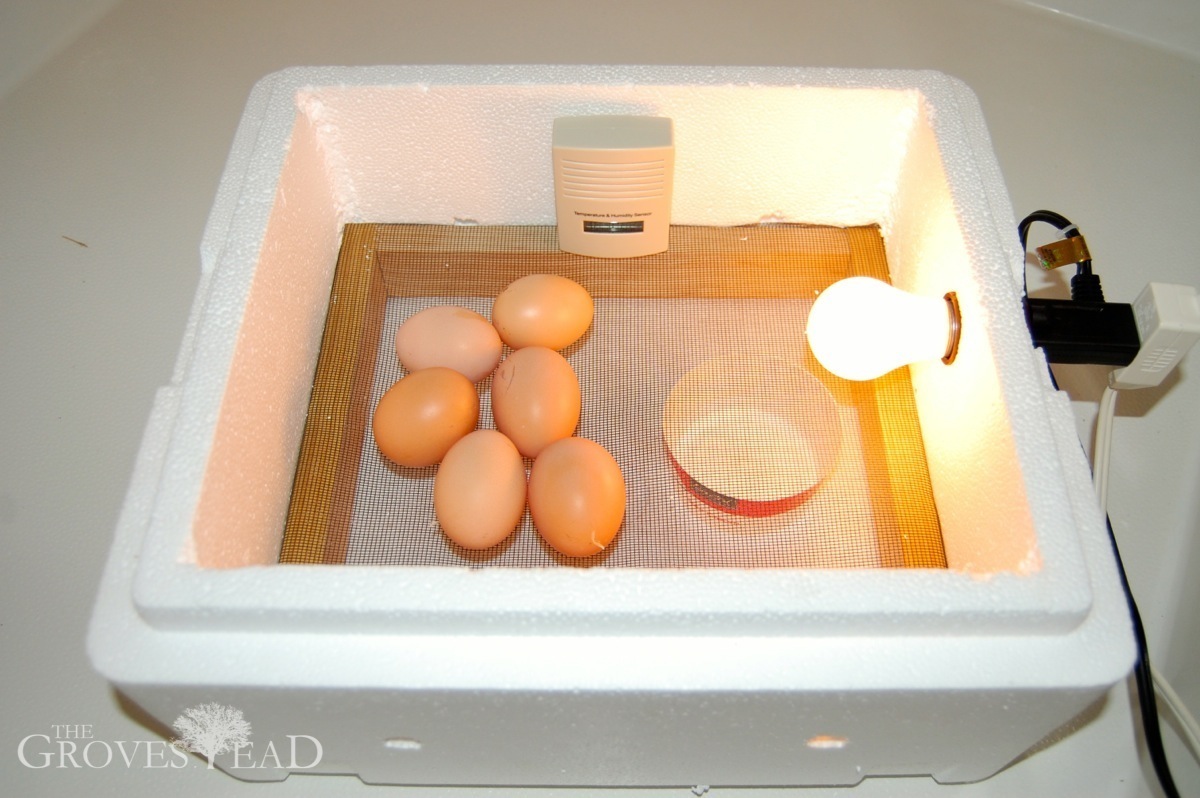
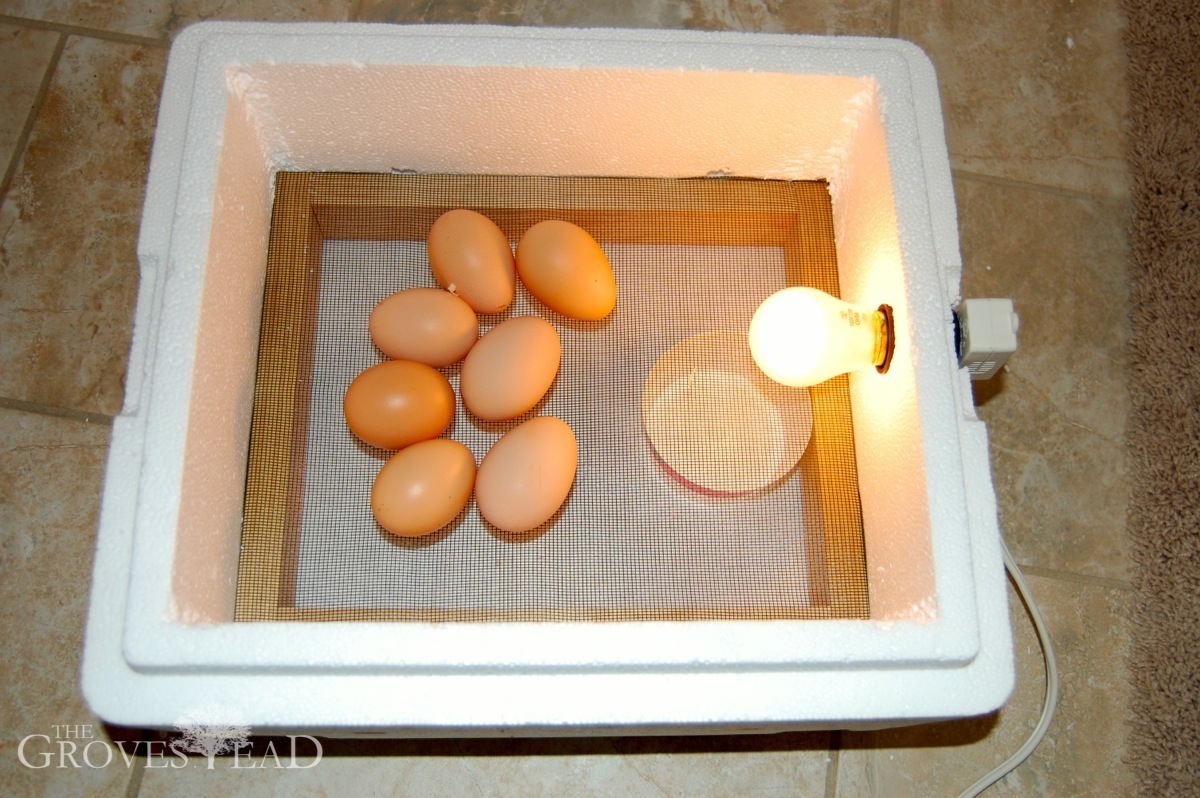
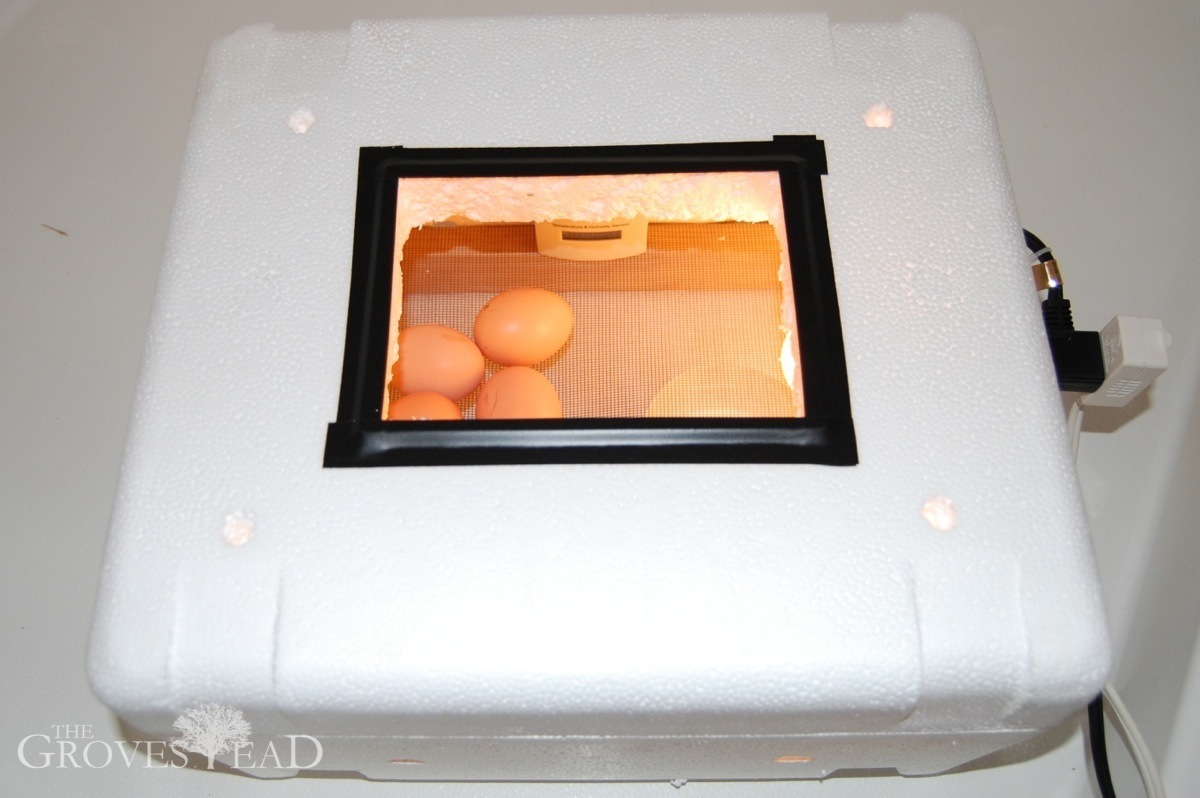
Step 5: Final assembly. Put the water cup in first, followed by the frame. Then install the lightbulb and place a thermometer inside. I set down several eggs to test out the weight.
An optional step is to add a viewing window. I used the glass from an ugly 5×7 frame:
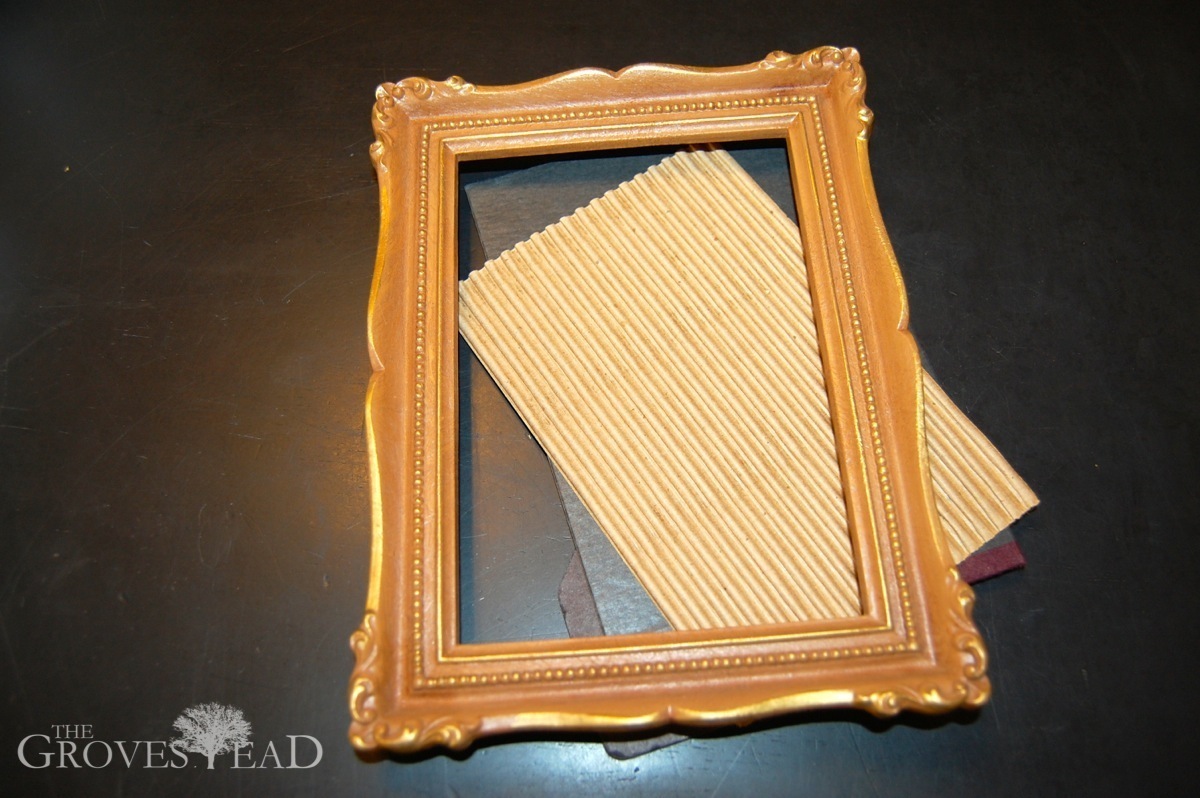
Cut out a slightly smaller hatch in the lid, then tape down the edges for a slick viewing window:
Incubating the eggs
After we had the incubator, the hardest part was fine-tuning the temperature. Hatching chicks requires a very fine tolerance, 99 to 102 degrees F. And you need to hold that temperature for 21 days. You also need to maintain the humidity around 40% for the first 18 days, then 60-70% the last 3 days. With cheap supplies, this can be a challenge, but not impossible. Basically, you have three options:
The Free Way
The simplest, but crudest way to manage temperature is to cut small holes in the lid until you find the right temperature (you can always tape over them if you overdo it).
The Easy Way
A very easy way to manage temperature is to buy a dimmer switch for plug-in lamps. These cost about $5 at the hardware store and make it extremely easy to find the right temperature.
The Foolproof Way
Even with a dimmer switch, you don’t know for sure if the temperature will hold for long periods. If it is increasing at 0.5 degrees per hour, you might wake up with hardboiled eggs in the morning (I lost a few nights’ sleep this way). The only surefire way to keep your eggs from overheating is to purchase a water heater thermostat and wire it into the power source. This will automatically turn off the lightbulb when it gets too hot, and turn it back on again when within the desired range.
Other stuff
Humidity
It has been difficult to keep the humidity high enough during the dry Winter months. I’ve found a wetted sponge does the trick.
Turning Eggs
It’s also important to turn the eggs a few times each day. This keeps the developing embryo from sticking to shell wall and deforming. I turn my eggs 3 times each day, so it is always a different side overnight.
I’ll get to some of the other topics later, such as candling eggs to check for fertility, so check back for updates on the progress of this batch. Even in the best of conditions, success rates vary widely. I don’t know what will come of this latest experiment, but I’ve learned so much already.


6 comments
Cannot wait to meet those baby chicks and all the new names! and…I love that UGLY frame!!!
Let’s hope there’s some to meet. I’ll find out within a few days if the eggs are developing or not.
Hi there, just wondering what your success rate was in the end? I would like to copy your setup, although just want to first ensure that you were happy with the results.
Many thanks
Ryan
Hi Ryan-
Both of the fertilized eggs hatched: https://www.thegrovestead.com/baby-chicks-hatching/